W-1f
Modeling a Context for Architecture Design
Deep Dive into Modeling and CADing with a focus on how we, architects, can take the most advantage of it. Gain confidence in the program even if you have never tried it. Understand the fundamental values that we require as creators to fully express and create Architecture Drawings and 3D Printable Models by practicing with simple, step by step exercises.
Support your design process by slowly implementing CADing based on 3D Print Modeling, be sure to check the other courses because they will help you to develop what are we going to do here. This course will take you through the analysis of a existing block, learn how to model it as a 3D Printable Model, then to export the STLs and GCODES, and finally be available to extract all the drawings you can from that data.
About the course
This course is intended for architects who want to integrate 3d based CADing into their design process and have some extra time to dive into the subject. We will start by understanding the mechanics of it, its history, the different methods, and most importantly how it can be integrated into helping clients, professors or colleagues understand your architectural idea.
Skill level and duration
Intended for the curious and the absolute beginners, or for self-taught users who would like to restart with a fresh structure.
The course is 8 chapters long, each with a lecture of no more than 20 minutes and an integrated practical exercise, each requiring between 30 to 45 minutes. In total, allow for three full afternoons.
Recommended Next Step Tutorials
Follow these Tutorials to practice and develop the skills learned here to create a full Manual CADing work in a unified architecture project.
In this course you will learn
The Story of AutoCAD.
Scale in Architecture Drawings.
Drawing Depth.
The Floorplan.
The Section.
The Elevation.
The Axonometry.
The Layout.
The materials you will need
Latest Version of Rhino or ArchiCAD, Installed and Running (necessary).
Basic understanding of Rhino, or Complete the Course “Ri-0 Rhino Foundations” or “AC-0 ArchiCAD Foundations” (necessary).
High performance computer (optional).
Course Content
8 Videos.
One single file with all the exercises.
Full Tutorial Script with searchable commands.
0. Download ArchiCAD
Here are the first steps to start connecting to this titanic project, learn how to download ArchiCAD and upgrade it to the latest version, also to get your server username and password to connect and receive the information you require. Learn the steps to send and receive from the server, the main task to save your work and work as a team. Finally open BIMx and discover a program that will help to visualize all the project and that can be really useful in the future to have your project in the palm of your hand, or your smartphone.
IMPORTANT NOTE: If you have never opened ArchiCAD or would like to get a foundational understanding of the Software, I invite you to follow this link to the Foundations Tutorial of ArchiCAD It will be a good hour spent either learning how to navigate it or furthering your knowledge.
Download the Full PDF Workflow !
1. Model Check
Learn the basic modeling requirements we have to fully develop a 3D printable model in 1:500 and also 1:200, and to have a base to create a full CAD set of drawings. We will see wall thickness, how to create openings, the gap distance to separate the pieces, roof construction. Also the Graphic Override its going to be of great help, to check that we have arrange the elements in the correct layer to correctly send to print the 1:500 and 1:200 Model.
This is the main commandments that are crucial to produce a complete 3D Model of your block.
Download the Full PDF Workflow !
2. Full Design
Here you will find the first steps to develop your block, from how to find the information, trace it, model it and shape it to make it 3D Printable. Shape any 3D Printable part of the buildings, facades and roofs of your block with Walls and Slabs, creating simple openings over it and in some cases Morphs. Learn how to 3D Model balcony, cornices, frames and other overhangs to be fully 3D Printed.
This step is necessary if you have some parts of the Block that are not modeled at all, if you don’t need to model at all go straight to the next step.
Download the Full PDF Workflow !
3. 3D Print
Trace your 3D Printer plate over you fully modeled block and divide it into 3D Printable parts with Isolate or 3D Cutaway. Know in which measures you need to divide it by walls and roofs or 3D print the whole piece. Export your STL with the correct scale and layers settled, open and put your STL in the Prusa Slicer to finally made the settings to slice and be ready to 3D Print your Model.
Here you will end your 3D Print task, starting next your CADing workflow. Let’s do this!
Download the Full PDF Workflow !
4. Situation Plan
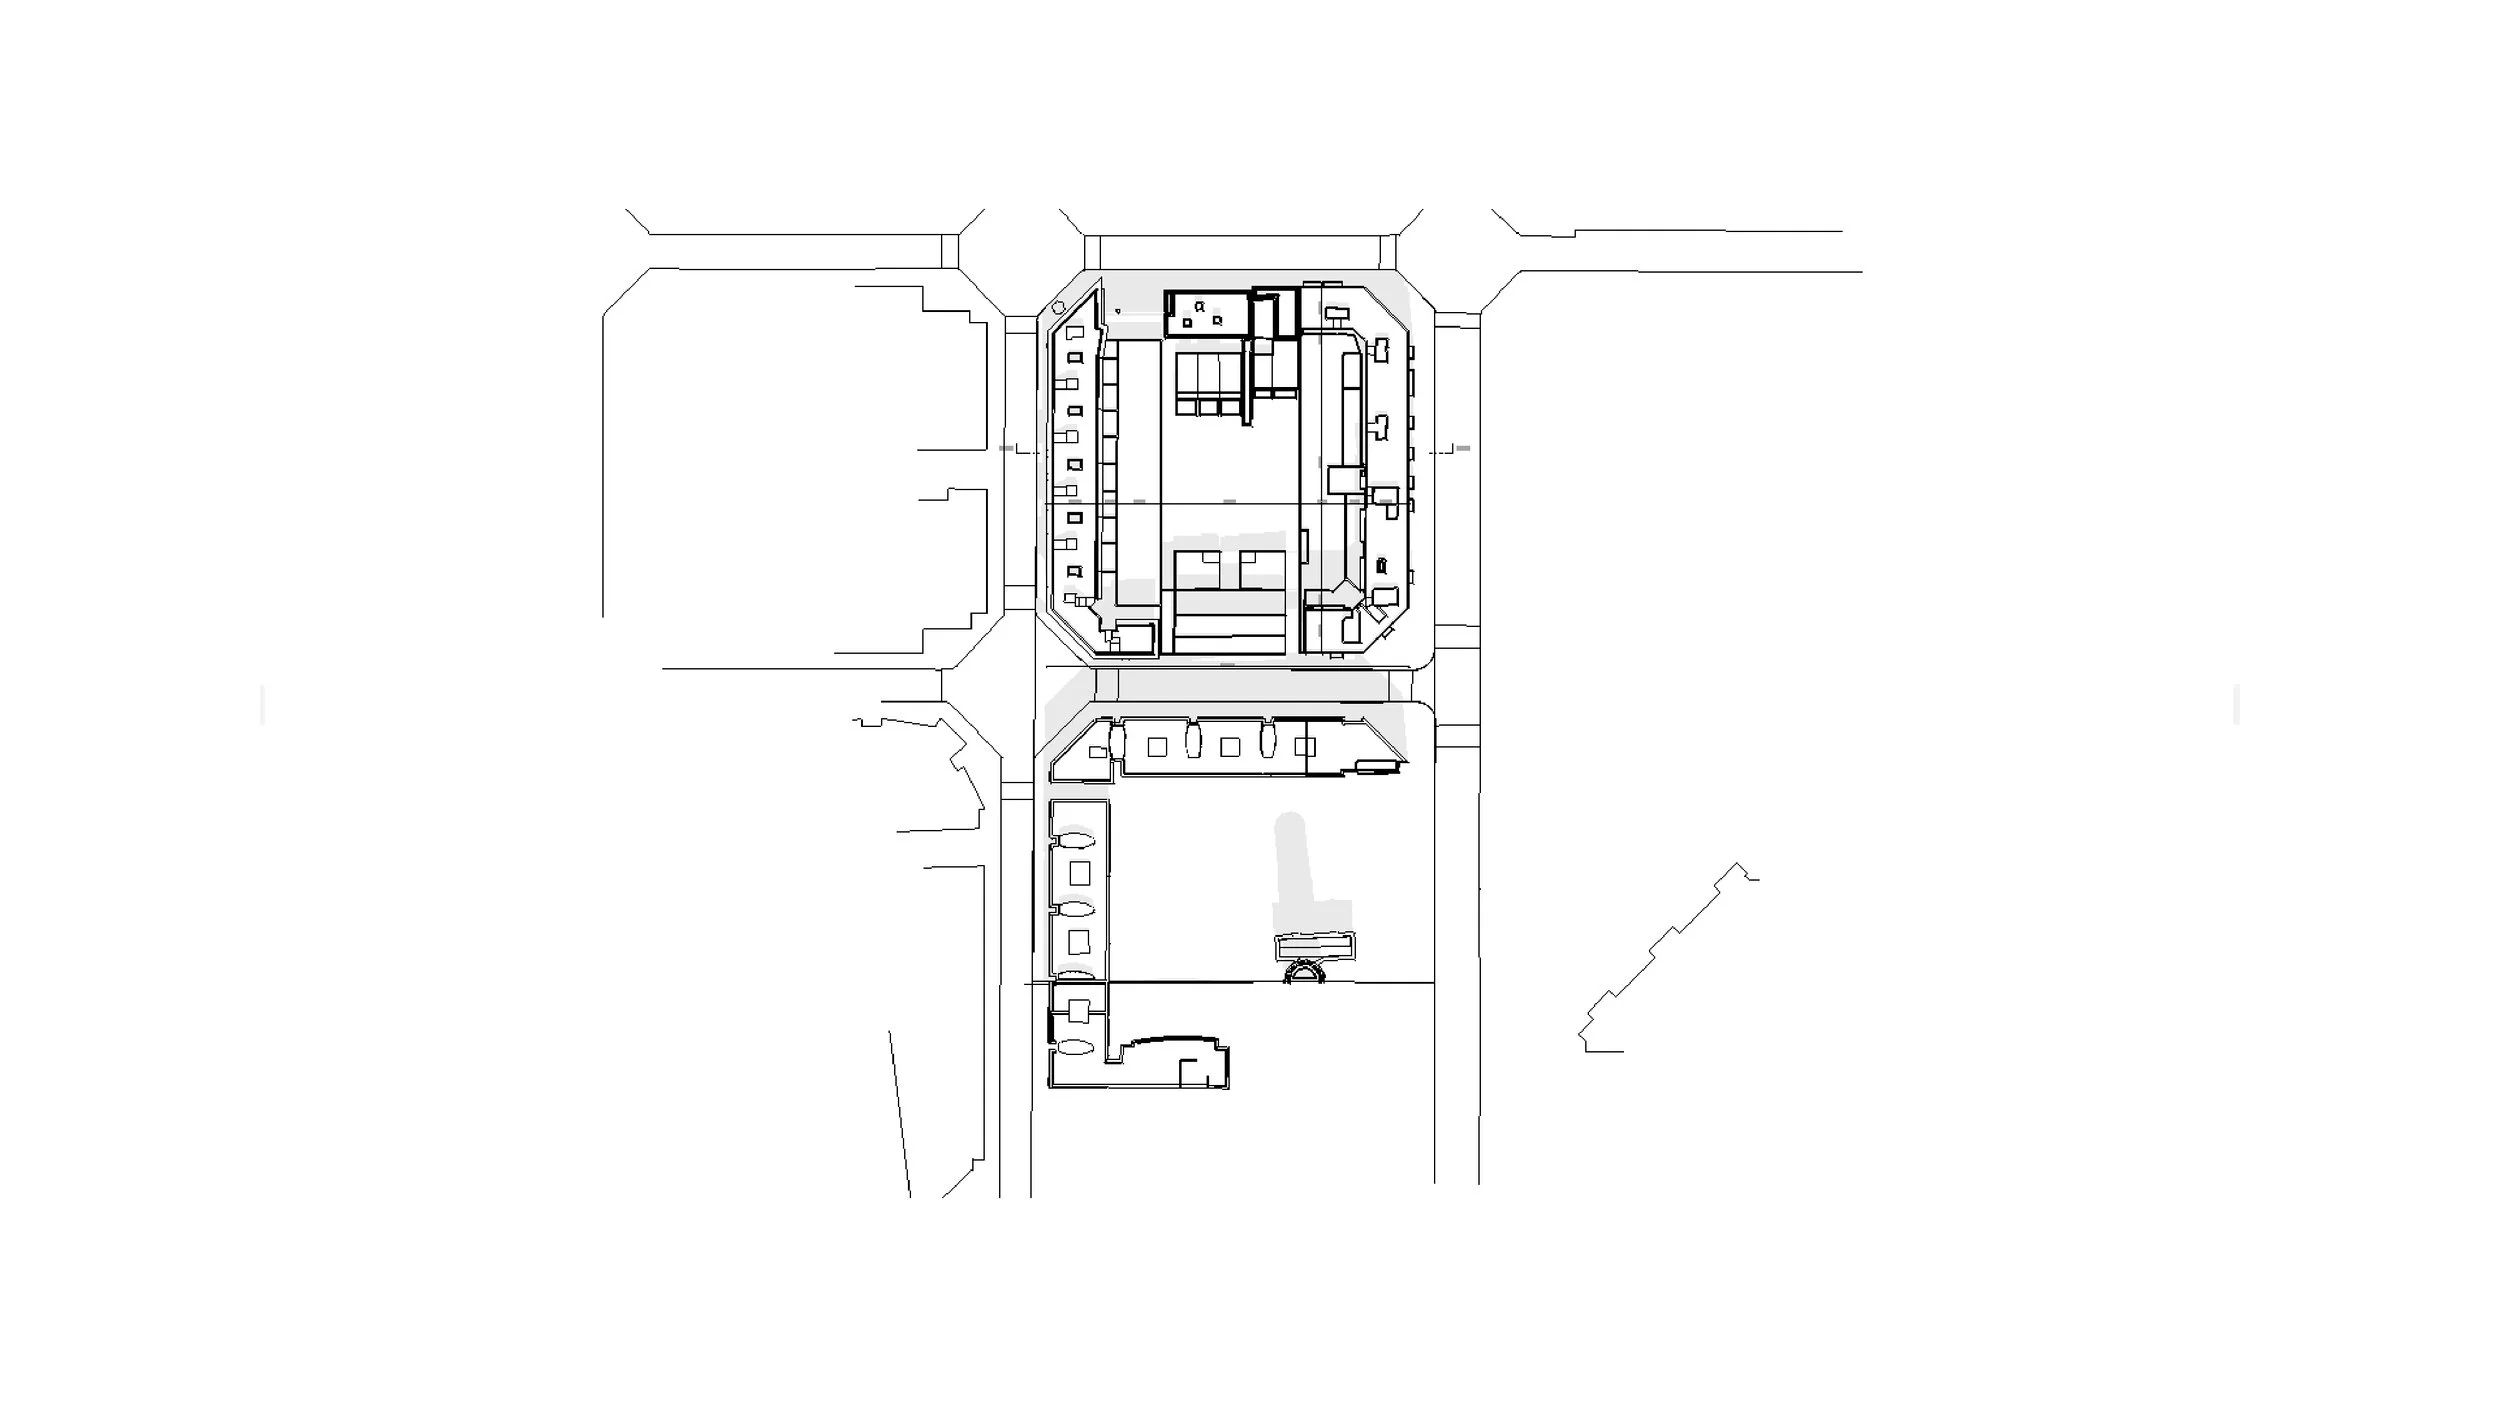
The floor plan is a good start for understanding documentation, since this is the field in ArchiCAD where creation and design happen. We are adding and changing the settings in our model while simultaneously experiencing the visual result. We are making this drawings fully 2D, taking information from the 3D Model. So let’s create a View, create a Worksheet, understand the View Settings and compile the information to have a clean and nice Situation Plan. Also learn the steps to create a Grain Plan, with the View Settings to develop it.
Download the Full PDF Workflow !
5. The Section
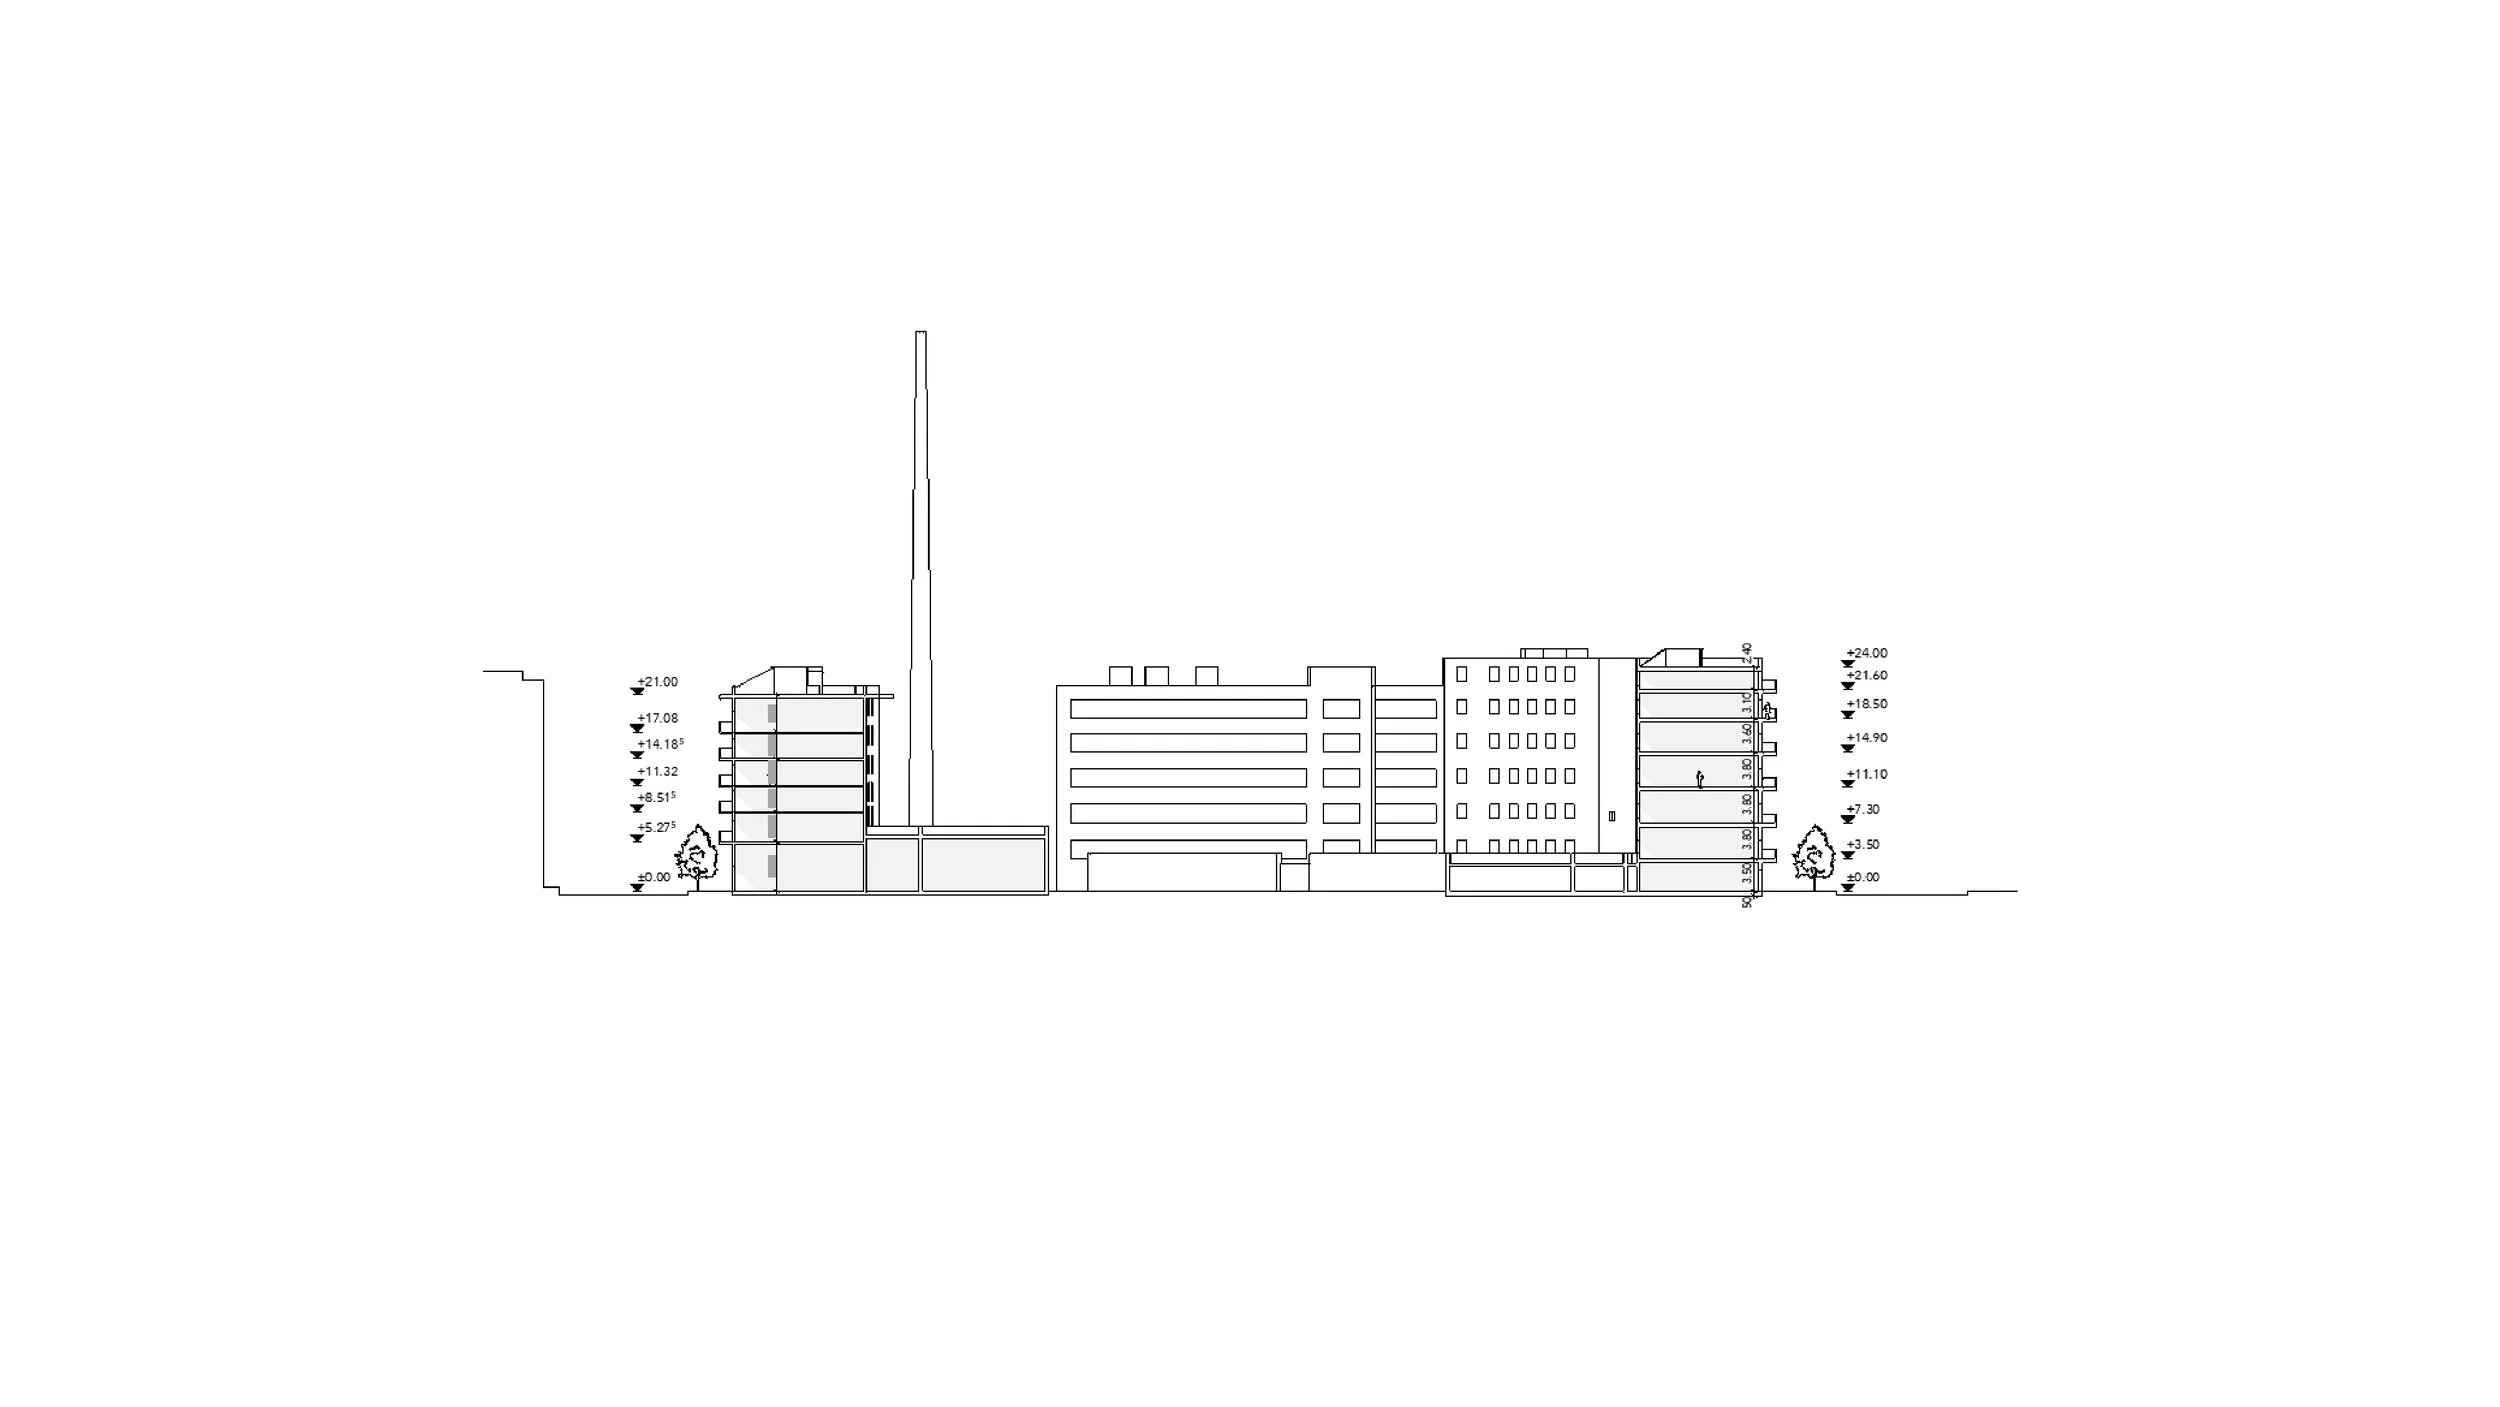
Now let’s explore the Section. This seems similar to the floor plan but you have to add another essential tool, The Section Tool. The tool gives us the idea of what is the relevance of a section, and where we should put it to better express the project. There is a difference in how you measure the Section: this plan gives you information on the constructive elements’ heights and it allows you to see the proportion of the space in its relation to the ground floor. Here too we are going to use 2D Drawings to create it, based on 3D Model, to create a clean and clear 2D Section adding 2D human scales and trees.
Download the Full PDF Workflow !
6. The Elevation
Here we are full based on the 3D Model, with a drawings based on the objects modeled. Lets explore how to create a Elevation Marker, and arrange it to configure which elements and in which distance are going to be shown. Lets configure the shadow, that is a crucial feature of this tool, and finally adding some 2D human scales and trees.
Download the Full PDF Workflow !
7. Axonometry
An axonometry is a schematic representation of the shape and objectives of a project. It may not be needed for constructive reasons but it is crucial for explaining a project and an idea. We can find thousands of architecture offices that make axonometries to summarize and express their projects. Pezo Von Ellrichausen’s work and their use of axonometries is a good example of how to represent architectural projects. In this unit we will create another Make2D in Rhino and a 3D View in ArchiCAD so be ready to learn to use another tool and to explore a different way to think about and develop a project.
Download the Full PDF Workflow !
8. Views and Layouts
With the Layout we have the conclusion of all the drawings we have developed. The Layout is a global tool, almost all the programs dedicated to architecture have it, and its has practical application in the field. Architects must also take into consideration decisions based on the dialogue between scale and paper size. Welcome to the final task involved with drawing. What comes next?: Printing and Exposing!
Download the Full PDF Workflow !
9. Sources
For the development of this course, an array of media, entries, and documents were consulted which I aim to list here. Please report any reference that might be missing so it can be promptly added.
Back to


